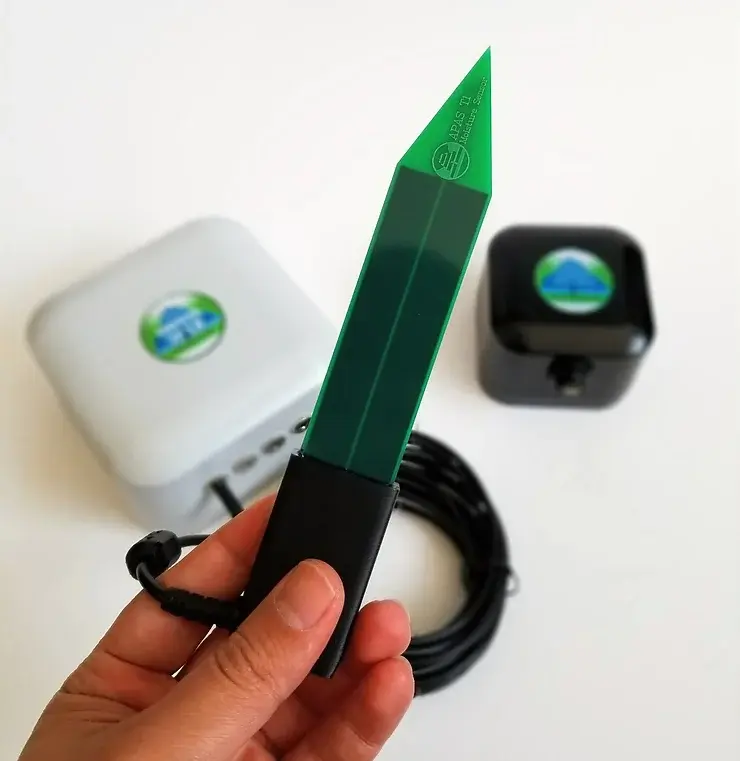
Soil moisture readings often deviate from expectations, leading growers to question the functionality of their sensors or readout devices. This uncertainty can arise for both experienced cultivators new to sensors and novice gardeners.
While these concerns are understandable, they often stem from a lack of sensor experience and a poor understanding of irrigation scheduling fundamentals rather than inherent equipment malfunctions.
Crucial Reminder: Effective irrigation management relies on a three-pronged approach:
Scientific Understanding: Comprehending plant water requirements, soil properties, and irrigation principles.
Practical Experience: Cultivating a deep understanding of plant behavior, environmental factors, and irrigation techniques.
Sensor Technology: Utilizing sensors to monitor soil moisture conditions and provide valuable data for informed irrigation decisions.
Soil moisture sensors are merely one component of this integrated system. No sensor can completely replace the expertise of a skilled irrigator.

Troubleshooting Your Moisture Monitoring System
1. Conduct a Quick Sensor Check
Step 1: Measure the sensor's reading in air and record the value.
Step 2: Gradually submerge the sensor in water, recording readings at each stage (e.g., every 60 seconds). Readings should increase progressively as the sensor becomes fully submerged in water.
Step 3: Insert the sensor into a fully saturated substrate (e.g., rockwool, coco coir) without a plant. Test different installation methods (vertical, horizontal) as applicable.
Note: If the sensor behaves as expected in water but not in the substrate, investigate the potential issues outlined below.
2. Investigate Potential Problems
Perched Water Table: If the sensor resides in a "perched water table" (where water pools at the bottom of the container or rockwool cube), it will consistently show high moisture readings. This occurs when water accumulates at the base, preventing proper drainage and potentially damaging roots due to waterlogging and oxygen deprivation.
Solutions: Reduce watering frequency, improve drainage (if possible), and relocate the sensor to a higher position within the substrate.
Loose Sensor Installation: In substrates like coco coir, the sensor may become dislodged, leading to inaccurate and inconsistent readings.
Solution: Ensure the sensor is fully inserted or buried horizontally within the substrate. Secure the sensor cable to prevent movement that could dislodge the sensor.
Air Gaps Around the Sensor: Air gaps around the sensor can cause sudden and significant fluctuations in readings as water fills and drains from these pockets.
Solution: Carefully re-install the sensor to minimize air pockets around the sensor body.
Insufficient Sensor Coverage: Relying on a single sensor for an entire irrigation zone can provide an incomplete and potentially misleading picture of soil moisture conditions.
Solution: Utilize multiple sensors within the same irrigation zone for more accurate readings.
Alternative: Combine sensor readings with evapotranspiration data (estimates of plant water use based on factors like radiation, humidity, air flow, and temperature). This approach allows for irrigation decisions based on plant water demand while incorporating sensor data.
3. Account for Measurement Uncertainty
Soil moisture measurements inherently involve some degree of uncertainty due to factors such as:
Sensor variability: Slight variations in sensor manufacturing and calibration can lead to differences in readings.
Substrate heterogeneity: Variations in substrate density, texture, and air content within the growing medium can influence sensor readings.
Temperature effects: Temperature fluctuations within the substrate can affect sensor readings.
Installation errors: Inconsistent or improper sensor installation can introduce errors.
Interpret readings with a tolerance range: For example, a reading of 50% should be interpreted as 50% ± 10%, meaning the actual water content likely falls within the range of 40% to 60%.
Averaging readings from multiple sensors installed at different locations within the irrigation zone can help minimize the impact of these uncertainties.
4. Select Representative Measurement Locations
Monitor plants with the highest water demands (e.g., larger, healthier plants) for the most accurate assessment of irrigation needs.
Avoid locations prone to waterlogging or areas with significant microclimatic variations.
5. Focus on Moisture Trends, Not Absolute Values
For irrigation scheduling, focus on identifying moisture trends (e.g., gradual decline after irrigation) rather than relying solely on absolute values.
Observe the overall trend to determine the appropriate timing for the next irrigation event.
6. Vertical Sensor Installation (Recommended for Rockwool)
Vertical installation is generally recommended for rockwool substrates, as moisture content can vary significantly within the cube.
If vertical installation provides inconsistent readings, consider horizontal installation at the center of the rockwool cube.
7. Avoid Using Sensors in Extremely Small Containers
In very small containers or rockwool cubes (height < 4 inches), the sensor may not be fully inserted, leading to inaccurate readings.
Frequent irrigation may be necessary in these cases regardless of sensor readings.
8. Avoid Shared Grounding for Multiple Sensors
Connecting multiple sensors to a single ground can interfere with their readings, especially at high moisture levels.
Use individual ground connections for each sensor to ensure accurate and independent measurements.
9. Minimize Cable Noise
The sensor cable itself can contribute to measurement errors, particularly at high moisture levels.
Minimize the amount of cable in contact with the substrate.
Use ferrite cores on the cables to help reduce interference.
10. Re-evaluate the Need for Substrate-Specific Calibration
Substrate-specific calibration may not significantly improve accuracy and can introduce additional errors.
Properly designed sensors for soilless media generally do not require extensive calibration.
Reasons:
High variability in both soil and soilless media can negate the benefits of calibration.
Calibration equations developed under controlled lab conditions may not accurately reflect real-world field conditions.
Other Considerations:
Sensor proximity to container edges can influence readings.
Allow sufficient time for moisture to distribute evenly after irrigation.
Avoid reusing the same sensor insertion points in rockwool to minimize the risk of air gaps and inaccurate readings.
Key Takeaway:
Effective irrigation scheduling with sensors requires a multifaceted approach that combines scientific understanding, practical experience, and careful attention to sensor installation and monitoring. By addressing the common issues outlined in this article, you can significantly improve the accuracy and reliability of your soil moisture readings and optimize your irrigation practices.
Note: This article provides general guidance. Specific sensor types and installation methods may vary. Always refer to the manufacturer's instructions for detailed information.


Comments